Some Freecycle elements mixed with some used fixtures makes for a cost-effective simple basement bathroom with everything we required and nothing we didn’t

Photo of the finished result looking into the bathroom. Just a basic 5′ x 8′, three piece layout identical to the layout of the one on our top floor
The rough-in for toilet and bathtub sanitary connection up through the concrete floor was provided with the house, and was the starting point for adding everything else
Most of the cost incurred for this build was for the vanity, tiles and backboard, paint and shower valve, and electrical.
This project was on the back burner for a while, but eventually I gathered enough components and started installing the main fixtures. The framing was completed and the fixtures installed and rendered operational even before all the framing was dry-walled. The basement was being regularly used in its unfinished state regardless, so once all our fixtures were operational, we used it without one finished wall at first!
The general procurement breakdown was about 40% of the materials obtained free, about 30% of the materials purchased new (some drywall, primer, paint, shower valve, light, electrical hardware, and floor and subway tile), and about 30% purchased used. The free material included all lumber, bathtub, some subway tile, towel bar, most plumbing pipes, baseboard, 1/4 rounds, tub spout, shower head, exhaust fan and outlet pipes, door, door frame, marble transition
I found the vanity, the toilet and the bathtub through Kijiji buy and sell, Kijiji freecycle and/or freecycle.org. I only found enough free subway tile to cover the ceiling, but had no issue matching new ones for the remainder of the shower stall. The framing was done with freecycle studs, as was almost all of the plumbing pipes. Drywall, mudding and sanding came well afterwards.
This page shows the build process and details how I sequenced the work, where I sourced the material, and some of the tricky issues I had to deal with along the way.
FREECYCLE TOOLS USED:
- Electric Drill
- Skill Saw
- electrician’s multitool
- Tile cutter
- various hand tools
BORROWED:
- P-Tex water pipe crimper tool
PURCHASED NEW:
- Drywallers hawk
- Mudding blades
PURCHASED NEW:
- Electrical wiring, boxes, switches, and plate covers
- Shower Valve (clearance sale, $60)
- Offset toilet flange and wax ring ($12)
- Mirror ($38)
- Primer and Paint ($60)
- Drywall, wonderboard, screws and mud ($150)
- Ceramic floor tile ($30) and Subway tile ($60)
- Tile adhesive & grout ($30)
- Light Fixture ($45)
- Shower Curtain & Bar ($20)
PURCHASED USED :
- 12 year old, super clean, Toilet ($5)
- Vanity with sink taps, and plumbing hookups ($50)
FREEBIES:
- Bathtub
- Framing lumber
- Some subway tiles and some drywall
- Towel Bar
- 1.5″ PVC drain pipe and miscellaneous elbows, fittings, etc for sink drainage (Kijiji/ local scrap)
- Marble floor transition
- Baseboard and quarter-round
- Exhaust Fan and conduit
- P-Tex water pressure pipe in various cut lengths
- Entrance door and door frame
- Door Handle and hardware
This photo shows what had to be removed from the concrete basement floor and rough-in pipe in order to fit in the offset toilet flange. The builder actually set this rough-in too close to where the perimeter wall had to go, and I was barely able to make the toilet fit even with the offset flange

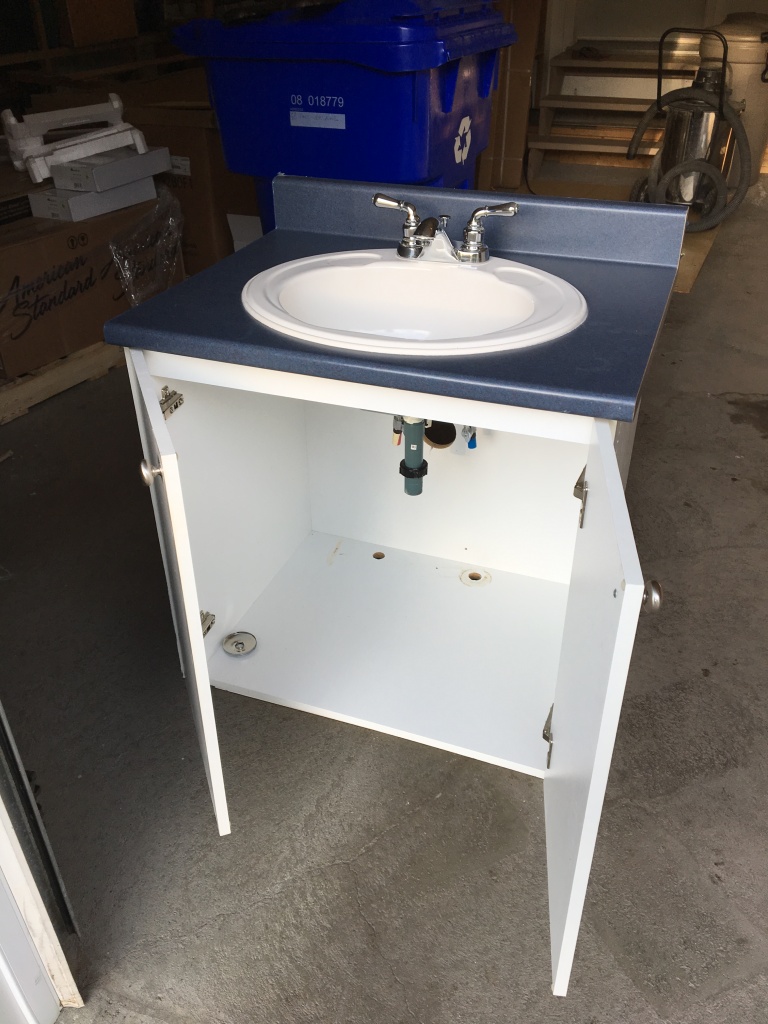
The vanity was purchased used quite a while before the bathroom project started; ditto for the toilet and the freecycle bathtub. The vanity itself had working taps and sink with hardware and everything needed to install as a unit. Although not modern by any standard, it was very clean and in excellent condition and would work in the space we had. A future upgrade to the counter top, sink and/or doors would also be easy to do if and when desired.
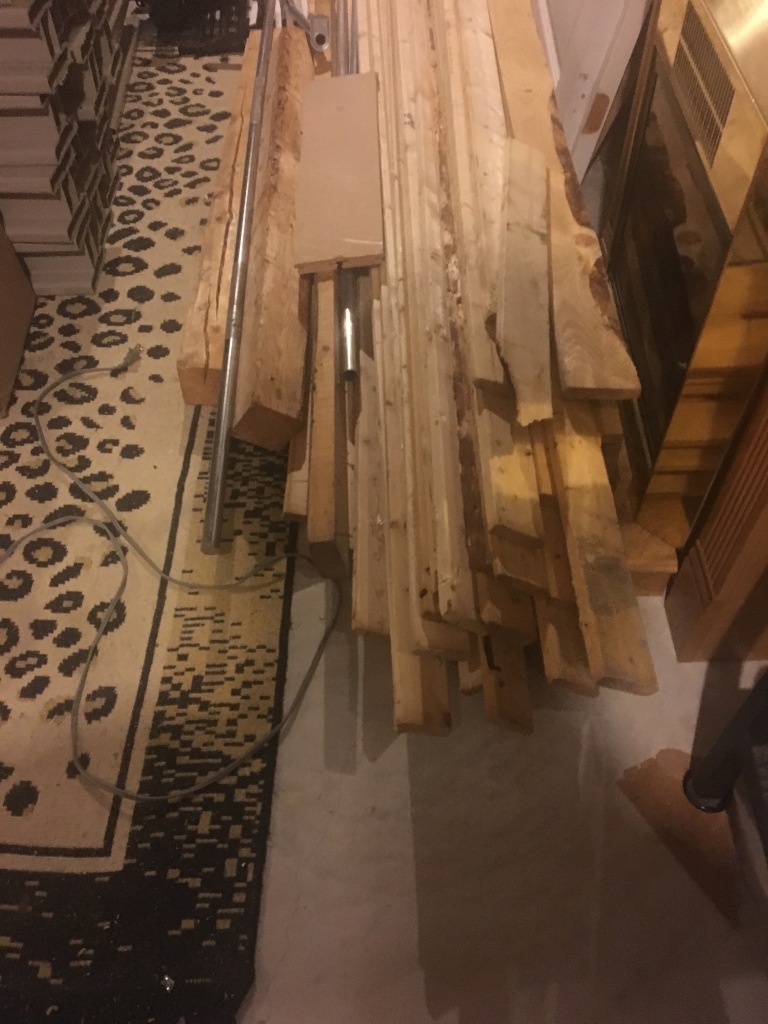
Some of the freecycle lumber used to construct the perimeter walls of the bathroom. Like most of the material, it was procured well ahead of starting the project. The wall between the unfinished tool room and the bathroom would contain all the plumbing needed for hot and cold water and drainage from the sink to the rough-in.
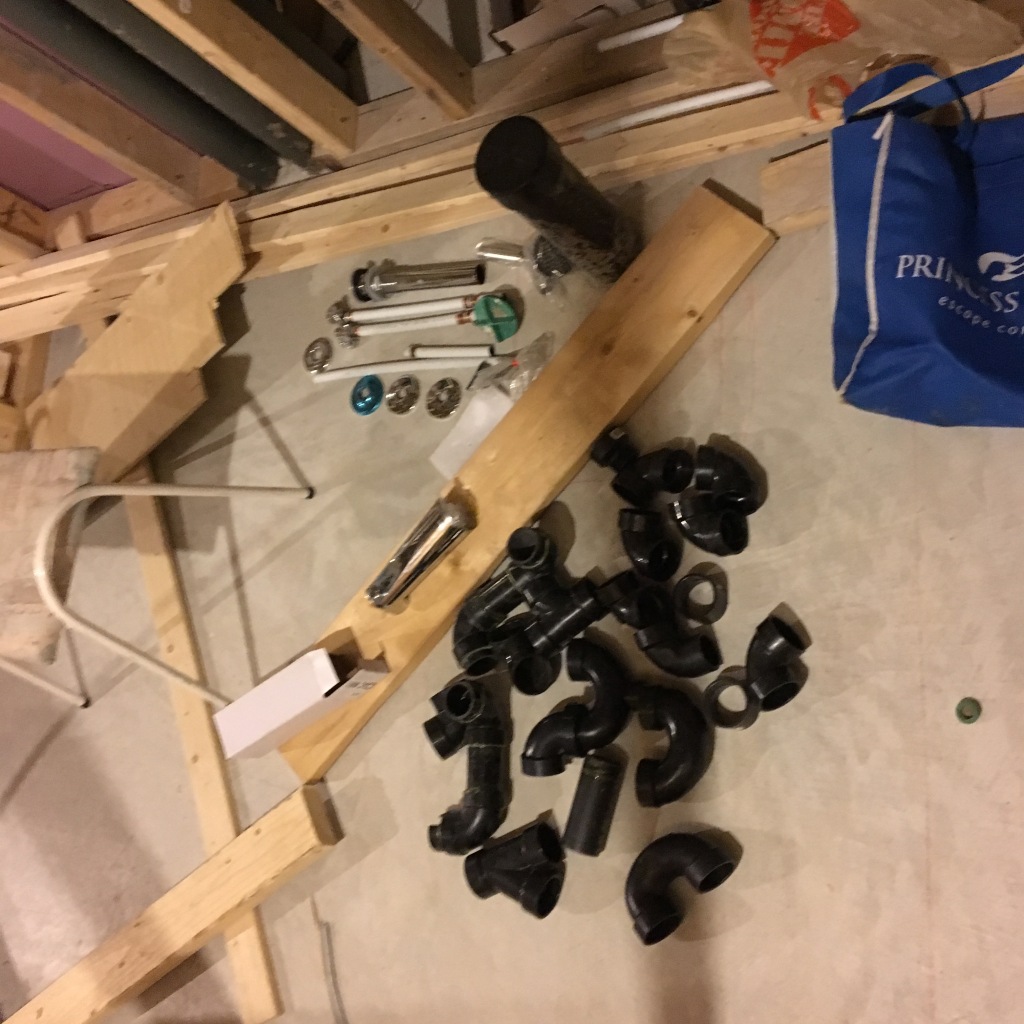
Some of the miscellaneous plumbing bits I managed to come across that I used as needed not just for the bathroom but also for the next project, the basement bar. Not shown are the P-Tex pipe cut-offs that I also used to plumb in portions of the work; I had 20 feet or so left over from the garage build but with numerous 5 to 6 feet cut offs I didn’t need to purchase more.
The toilet (circled) was a thoroughly cleaned, lightly used one available for only $5 so I grabbed it when I was sourcing a lot of the other materials for the various projects. The basement had plenty of space to store things for as long as needed, just had to move stuff around once in a while

A pic of the work in progress, maybe about 2/3 through the build. The back wall is complete but not mudded, floor tiles have been installed, the toilet, vanity and the bathtub are all in and the plumbing has been done. The wonderboard concrete backboard was purchased new and on sale – it was not very installer-friendly material, but It was a big upgrade to the mold resistant drywall product and very water resistant, while also being easy to put subway tiles over.

I found enough subway tiles freecycle from within the neighborhood (contractor left-overs) to do the shower ceiling but needed to match them to new ones that I needed for the shower walls. I had leftover 1/2″ copper pipe and elbows for the valve to shower head and valve to spout, plus the head and spout were freecycle items, so shower plumbing was freecycle except for the valve itself

Even the towel bar was freecycle. I can’t recall where or when I received the end fixtures, but I had to fabricate some wall mounts for them which was not difficult to do. The bar itself is a chrome leftover extension piece from a LED chandelier that just happened to fit perfectly.

At a later date the rest of the basement finishing begins to take shape, which is when the actual door to the bathroom and the opposing wall (between the bathroom and closet, right side of pic) get installed. The doorframe was found in a dumpster with a damaged door and hinges attached, I could not use that door but did find and use another freecycle door of the correct size. The doorframe, but not the door, is seen in this pic

The last steps to finish things up involved the drywall mudding and painting. in this pic the mudding has begun but is not yet finished. The exhaust fan that can be seen at the top of the photo and the exhaust conduit behind the ceiling were installed after the ceiling framing was complete. These items were all freecycle. There was a hole that had to be drilled out of the side of the house just above foundation level but within the beam spaces to accommodate the 3″ piping above the basement ceiling out to the exterior vent. The doorframe still needs to be painted when this photo was taken.

The finished bathroom wall beside and behind the vanity has been fitted with a nice large mirror and a new LED fixture above it. Wall switches were mounted one above the other due to framing constraints. Electrical wires, boxes, fixtures and mounting hardware was all new and was done myself, but the inspection for code requirements and breaker installation and energizing required an electrical inspection and licensed electrician to energize. That inspection and hookup was all done as part of the basement finishing work. Everything passed. We still used the sink and toilet for over a year with no electrical hookup in the bathroom and without the 4th wall drywalled or finished (lol).

We stayed with the black and white motif for the finished look, with the grey floor tiles, satin grey paint and white fixtures. Shower curtains and towels match the motif and a few decorative touches were added. I had read an online article showing how someone could renovate a bathroom for only $500, but that assumed that there was a bathroom of some kind existing in the first place. We built ours from scratch with nothing to start from but sanitary rough-ins through a concrete floor, and we did it for about that same price. Its all we needed for a basement, and can easily be upgraded in the future if desired.

Have any questions or want more information about this build? Send me a message in the contact link and I’ll be happy to provide a response.
